
Planning My Home Network in the Philippines: Do I Really Need a 48-Port Switch?

Planning My Home Network in the Philippines: Do I Really Need a 48-Port Switch?
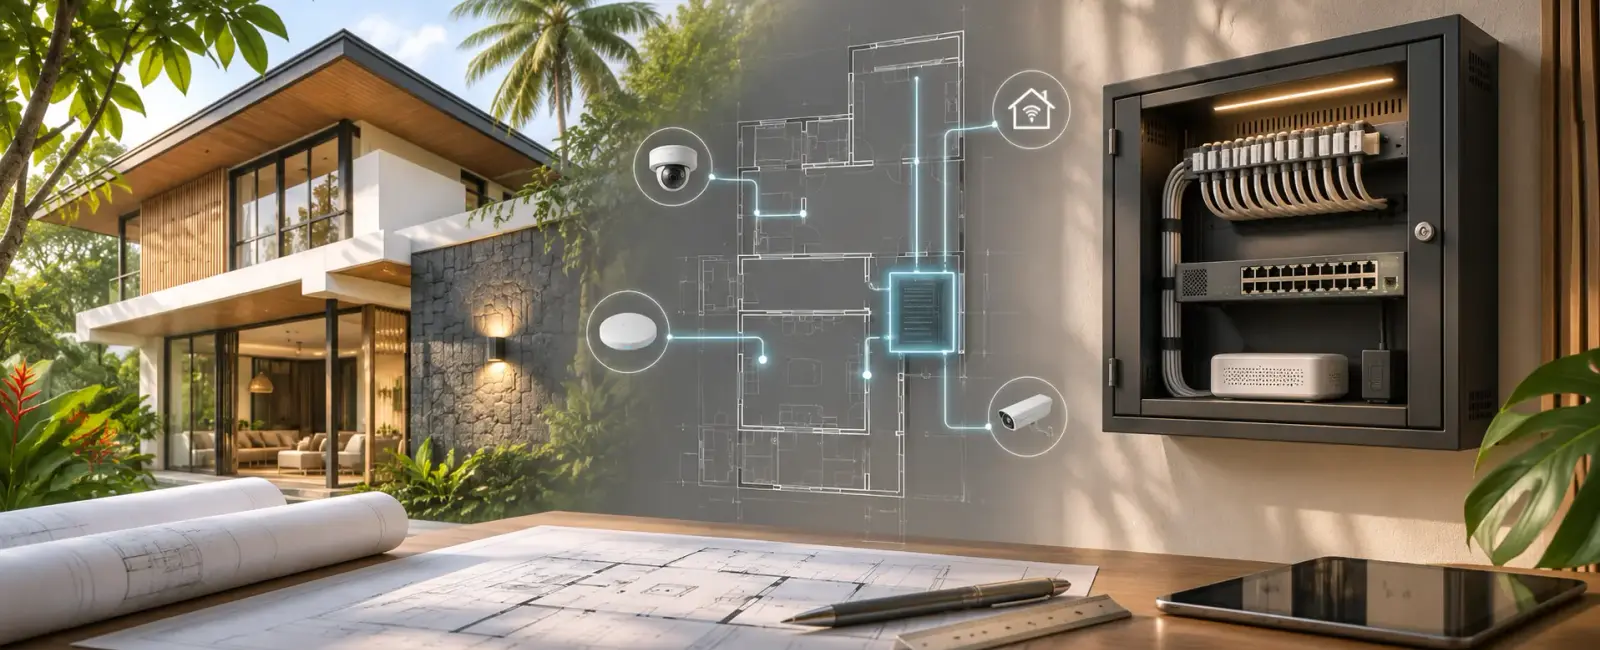
I started looking for a network cabinet for our house in Liloan, Cebu. I was expecting a fairly simple decision: choose a 19-inch rack, put a 48-port switch inside, and leave enough space for the router and the rest of the equipment.
Then my architect asked where we were actually going to put it.
That question made me review the whole plan. The house is still under construction, so I can change cable routes and equipment locations before the ceilings and walls are finished. I would rather solve this now than end up with an oversized cabinet in a bad location.
At the moment, I am leaning towards one compact 24-port managed Gigabit switch, a separate 8-port PoE switch, and a shallow wall-mounted cabinet. Nothing has been installed yet. This is how I got there.
The Service Room Was Already Getting Crowded
The original candidate was a service/storage room measuring about 3.75 × 1.35 metres, or 5.06 m². On paper that sounds reasonable. In practice, it is a narrow room that was being asked to accommodate quite a lot:
- Domestic water storage, pump and pressure tank
- Water softener
- Electrical distribution equipment
- Solar inverter and associated equipment
- Possibly the network cabinet
My concern was the combination. Water systems need maintenance, and I do not want network equipment beside plumbing, possible leaks or condensation. The electrical and solar equipment also need their own working clearances and ventilation.
Our contractor, Ruaya, suggested moving some water equipment to the side of the house. We are investigating separate underground storage for domestic fresh water and the planned 2,000-litre rainwater tank, with pumps and the softener in an accessible protected service area. The rainwater is intended for irrigation and other permitted non-potable uses.
This is still a proposal. Tanks beside the house need engineering checks for excavation near the foundations, groundwater, waterproofing, drainage and maintenance access. Moving a problem outside does not automatically make it safe.
If that arrangement works, the existing service room can mainly serve the electrical and solar systems, and the network can go in a separate dry location, potentially around the foyer or stairs. I still need the architect to approve the exact position.
My First Idea Was a 48-Port Switch
I originally looked at a full-size managed Gigabit switch. A 48-port model sounded sensible for a house with four bedrooms, an office, cameras, several Wi-Fi access points and Home Assistant.
One candidate was the TP-Link Omada SG3452. TP-Link lists 48 Gigabit Ethernet ports, four SFP slots, fanless cooling and a 440 × 220 × 44 mm chassis. It is a proper rack-width switch, although it does not supply PoE to cameras or access points.
I also investigated the Zyxel GS1900-48. I had seen an Amazon listing for AED 1,552 plus AED 99 delivery at the time of my research. The marketplace dimensions looked suspiciously small. Zyxel’s rack-mount guide instead lists 440 × 200 × 44 mm. Zyxel describes this model as using a smart fan, so noise was another consideration.
The problem was not only the purchase price. With a cabinet I wanted to keep as shallow as possible, a 20–22 cm-deep switch leaves very little space for the Ethernet plugs, power cable and cable bends. I also would still need something to power the PoE devices.
Before deciding on the cabinet, I went back to the house plan and counted the connections.
Counting the CAT6 Runs Changed the Design
These are the current allowances, not an as-built cable schedule:
| Location | Planned CAT6 connections |
|---|---|
| Four bedrooms, one each | 4 |
| Office / flex room | 4 |
| TV / safe room | 1 |
| Main living room | 2 |
| Kitchen / dining | 1 |
| Garage / service area | 1 |
| Covered patio / garden | 1 |
| Roof deck / attic | 2 |
| PoE security cameras | 2 |
| Wi-Fi access points | 4 |
| Total | 22 |
The office gets four connections because I expect more wired equipment there. The bedrooms get one each. We are allowing for four Wi-Fi access points, but the final number and locations need a proper coverage plan. Two wired PoE cameras are planned for now; other battery or cellular cameras do not necessarily need a CAT6 run.
Twenty-two cable runs is not the same thing as needing 22 live switch ports from day one.
Each cable can terminate in a passive CAT6 patch panel. The patch panel is simply the place where the fixed house cabling ends. A short patch lead connects a selected outlet to the switch. If a bedroom outlet is not needed, its cable can stay terminated but disconnected.
I am considering 28–32 termination positions in total so we can add some cable runs later. That does not mean buying a 32-port switch today. In fact, because extra cable is easier to install while a house is open, I would rather decide the spare cable locations now, not after plastering.
A 24-port switch suddenly became much more interesting.
Why I Prefer a 24-Port Switch Plus a Small PoE Switch
PoE stands for Power over Ethernet. It lets compatible cameras and Wi-Fi access points receive power through their network cable, without a separate power adapter at each device.
My current powered-device allowance is two cameras plus three or four access points, so around five or six PoE connections. I do not see a reason to buy 24 or 48 powered switch ports for that.
The layout I am investigating is:
Internet / fibre ONT|Router / firewall|24-port managed Gigabit switch|-- Ordinary CAT6 room outlets|-- Home Assistant / other local devices|+-- 8-port PoE switch|-- 2 PoE cameras+-- 3 or 4 Wi-Fi access points
All fixed house cables would terminate on central patch panels. The diagram shows the logical connections, not final physical rack positions.
A small detail matters when counting switch capacity: the link between the switches uses a port on each switch. If the 8-port PoE model has eight shared data/PoE ports and no separate uplink port, six powered devices plus one uplink use seven ports. That leaves only one spare. It is enough for the initial idea, but hardly unlimited expansion.
There is also a difference between having enough PoE ports and having enough PoE power. I will need to add the wattage of the selected cameras and access points, check their PoE standards, and choose a switch with a suitable total power budget. I cannot finalize that until the access-point models are chosen.
Two switches mean an extra power connection and another device to manage. A single 24-port PoE switch might eventually turn out to be simpler if a suitable shallow, quiet model is available at a good price. I am not ruling that out.
For now, separating ordinary Ethernet and PoE looks like a reasonable compromise. It also lets me upgrade the PoE switch later without replacing the main switch.
The Compact Switches I Started Comparing
Once I stopped insisting on 48 ports, I found several much shallower models.
| Switch | Chassis (W × D × H) | What interests me |
|---|---|---|
| TP-Link Omada ES224G | 294 × 140 × 44 mm | 24 ports, easy-managed features, fanless |
| Zyxel GS1900-24E | 267 × 162 × 42 mm | 24 ports, smart managed, fanless |
| TP-Link TL-SG1024DE | 294 × 180 × 44 mm on the linked regional specification | 24 ports, Easy Smart, fanless |
| Zyxel GS1100-24ES | 280 × 126 × 44 mm | Very shallow, but unmanaged |
These are manufacturer-published dimensions for the versions and pages linked above, not a guarantee for every hardware revision. For example, TP-Link also publishes a TL-SG1024DE V7 datasheet showing a 140 mm chassis depth. That is a good reason to check the exact revision before ordering, especially when a few centimetres make a difference.
I prefer a fanless switch if the cabinet ends up near occupied rooms. I also want some management features, rather than buying the shallowest unmanaged switch just to save space.
With Home Assistant, smart-home devices, guests and cameras, I would like to separate parts of the network using VLANs. A VLAN is a way to keep groups of devices on different logical networks even when they share physical switches. The switches, access points and router/firewall all need to support the intended setup. VLANs alone are not a firewall; the router rules still control which networks can talk to each other.
The ES224G and GS1900-24E are the candidates I want to compare more closely. Their management features are not identical, so I still need to check the exact VLAN and uplink behaviour rather than assume every switch advertised as “managed” works the same way.
Is a 25 cm-Deep Cabinet Actually Possible?
My target is a cabinet that projects only about 25 cm from the wall. Width and height are less of a problem.
The tempting calculation is 250 mm cabinet depth minus 140 mm switch depth = 110 mm left. But that is only an illustration. A switch chassis dimension is not the same as the usable depth inside the cabinet, and the cabinet’s external depth includes its doors, panels and mounting structure.
I still need space for Ethernet plugs at the front, cable bends, the power connection, ventilation, brackets and access when something needs replacing. A patch panel in front of the switch can also change how cables must be routed.
A cabinet advertised as 250 mm deep may have considerably less usable internal space. I will need to draw the actual hardware to scale, including the patch leads, before deciding whether 25 cm works. A 30 cm option would be easier, but it would also project further into the room.
I briefly looked at vertical wall-mounted racks, where equipment is oriented differently so its long chassis dimension can run along the wall. It can solve the projection problem, but only if the manufacturer’s mounting and cooling instructions allow that orientation. With a shallow 24-port switch, I may not need to get that complicated.
I Also Want to See Whether I Can 3D Print Part of It
I have a Bambu Lab A1 Mini, and I like making custom parts when the standard product is either too large or not quite what I need. The A1 Mini’s specified build volume is 180 × 180 × 180 mm, so there is no way I am printing a whole 19-inch cabinet in one piece.
There are some interesting modular references on MakerWorld:
- Modular 10 & 19 inch Server Rack System, which uses 2020 aluminium extrusion and printed parts.
- KWS Rack V2, Heavy-Duty 10-inch Homelab Rack, useful for smaller equipment.
- Modular 19-inch Server Rack and OpenRack 1U, other designs I want to study.
The first one is closest to what I have in mind. I am considering a 2020 aluminium-extrusion frame, metal equipment rails and wall anchors, with PETG-printed cable guides, covers and adapters. I have not printed or load-tested any of these rack designs yet, and I still need to check which individual pieces fit the A1 Mini.
A 10-inch rack is attractive because it is compact, but it does not directly accept standard 19-inch rack-mounted equipment. Even a 294 mm-wide desktop switch would need a suitable shelf or custom mount. I would rather select the switch first and build around it than choose a printable rack and then discover it rules out the equipment I wanted.
I also would not trust ordinary printed PETG as the main load-bearing or fire-protective structure. Metal should carry the equipment and secure the frame to the wall. We are moving towards AAC wall panels in parts of the house, so any significant wall load needs an engineer-approved fixing detail, preferably into the reinforced-concrete structure where practical.
The Cabinet Needs More Than Two Switches
Even with the switch question mostly answered, I have not settled the cabinet size. The full list may include:
- CAT6 patch panels and cable management
- Router/firewall and the internet provider’s fibre ONT
- 24-port switch and the small PoE switch
- Home Assistant mini PC or other controller
- Possibly an NVR for camera recording
- Power distribution and, ideally, backup power
A UPS may be better in its own ventilated location instead of inside a very shallow cabinet. I also would not put the Zigbee coordinator inside a metal box and expect ideal radio coverage; it may need to be located away from the cabinet on an appropriate extension.
The whole system needs to be accessible. A tidy cabinet that is impossible to service is not a good design.
Where I Am Now
The 48-port switch is off my initial shopping list. The plan is roughly 22 CAT6 runs, with provision for 28–32 passive terminations, a 24-port managed Gigabit switch, and a separate 8-port PoE switch if the final power budget supports it.
I want a cabinet around 25 cm deep, probably using metal or aluminium structure with some 3D-printed accessories. That depth is a target, not an approved construction dimension.
The next work is less exciting than choosing hardware, but more important: finalize the outlet and access-point locations with the architect, select the actual switch and router models, calculate the PoE budget, and check a scaled cabinet layout with real cable clearances. The cabinet location and wall anchors also need approval.
I am glad I counted the connections before buying a 48-port switch. I still want enough cables inside the walls for future changes. I just do not need to power every possible connection on day one.


Related Posts

Quick Links
Legal Stuff